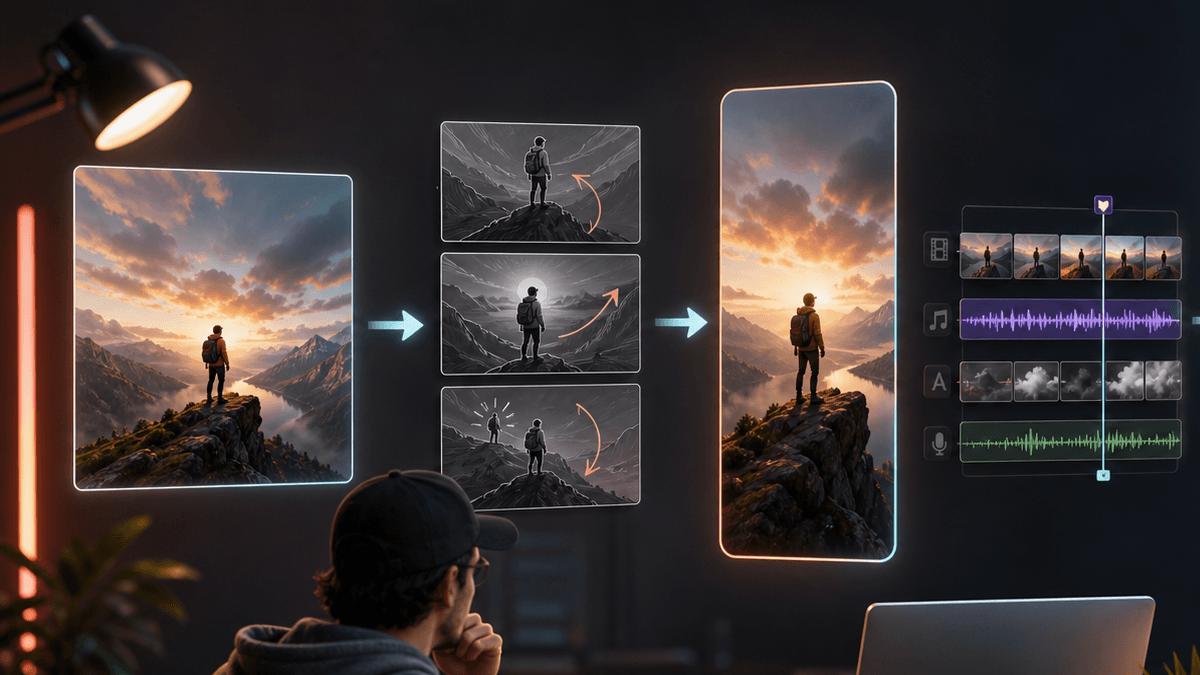
Image to Video AI Workflow Guide

Stella writes SwipeStory guides about AI faceless video creation, short-form video strategy, creator tools, and automated publishing workflows.
Image to video AI works best when you treat the source photo as the first frame of a real short-form video, not as a magic prompt shortcut. Start with a clean image you have rights to use, write a motion-first prompt, generate a short clip, then add script, voiceover, captions, music, export checks, and scheduled publishing in SwipeStory's AI image-to-video tool.
Updated May 25, 2026. We checked current SwipeStory image-to-video code, Runway Gen-4 documentation, Adobe Firefly Image to Video pages, OpenAI Sora help pages, YouTube Shorts rules, TikTok specifications and AI-labeling guidance, and Instagram Reels upload guidance before writing this workflow.
Quick Verdict: The Best Image to Video AI Workflow
The fastest reliable workflow is:
| Step | What to do | Why it matters |
|---|---|---|
| 1. Prepare the still image | Crop, clean, and rights-check the image before generation | The image defines subject, composition, style, and most of the visual context |
| 2. Prompt motion only | Describe camera movement, subject action, and pacing | Current image-to-video models respond better when the image carries the look and the prompt carries the motion |
| 3. Generate short clips | Test 5-10 second motion before building a full edit | Short iterations reveal warping, drift, and weird movement faster |
| 4. Add short-form layers | Voiceover, captions, music, safe zones, and platform framing | A moving image is not yet a TikTok, Short, or Reel |
| 5. Review rights and disclosure | Check source ownership, real-person consent, claims, and AI-labeling rules | Realistic synthetic media has platform and trust constraints |
Use image to video AI when you already have a strong visual starting point: a product shot, character concept, landscape, thumbnail, brand image, illustration, photo, or AI-generated still. If you only have a topic, start with Prompt to Video. If you already have narration, use Script to Video AI. If the goal is a no-camera channel, pair this workflow with the faceless AI video generator.
Start With the Source Image, Not the Model
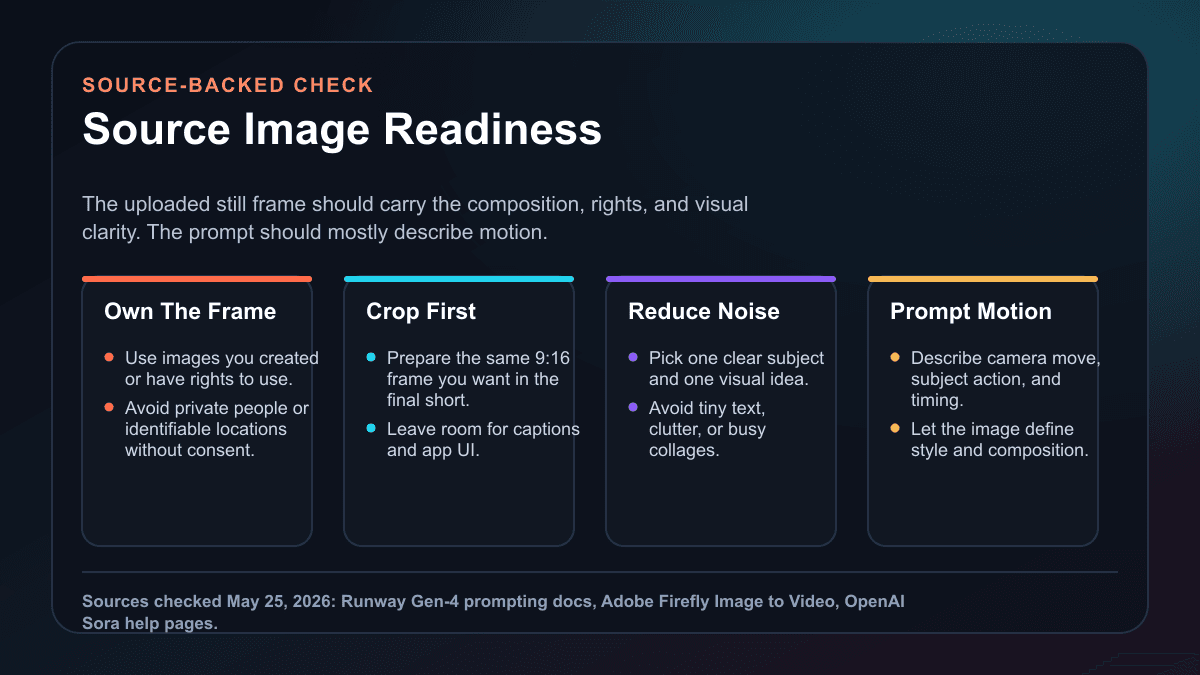
Most weak photo to video AI results start before the generator runs. The source image is doing more work than the text prompt. It tells the model what the subject looks like, where the camera is, what the lighting is, what style to preserve, and what objects exist in the scene.
Before uploading an image, check four things.
1. Rights and permission
Use an image you created, licensed, purchased, or have permission to use. If the image includes a real person, private location, client product, artwork, trademark, or event, the rights question comes before the creative question. OpenAI's Sora help pages, for example, show that real-person image-to-video rules can vary by product surface and account eligibility, while TikTok and YouTube both have disclosure rules for realistic synthetic media.
This is not legal advice. It is a practical creator rule: do not build a repeatable short-form workflow on images you cannot confidently use.
2. The final crop
For short-form platforms, prepare a 9:16 image before generation. If the photo is horizontal, crop a vertical version that still has a clear subject and enough space for captions. Do not trust the model to preserve a perfect crop after the fact.
Use the center third for the subject when possible. Keep the bottom area clean for captions, comments UI, and platform controls. Avoid placing critical details in the far right edge because TikTok, Shorts, and Reels overlays can compete with text and buttons.
3. One clear subject
Image to video AI often struggles when the still has too many competing focal points. A single face, product, object, room, landscape, illustrated character, or scene detail is easier to animate than a collage of tiny elements.
Avoid:
- Screenshots with small text.
- Low-resolution thumbnails.
- Busy group photos.
- Watermarks or logos you do not control.
- Images where the subject is cut off at the edge.
- AI stills with warped hands, broken objects, or unreadable signs.
The cleaner the still image, the more useful your first generation will be.
4. A motion-first prompt
Runway's Gen-4 prompting guidance says the input image already carries key visual information, so the text prompt should focus on motion. Adobe Firefly's Image to Video page similarly emphasizes uploading an image, adding a prompt, and choosing camera movement.
Weak prompt:
Make this photo cinematic and viral.
Better prompt:
Slow push-in camera move toward the product on the desk. The window light shifts gently across the surface. Keep the product centered and stable. Subtle dust particles move in the light. No new objects.
The better prompt gives the model an action plan. It names camera movement, subject stability, atmosphere, and constraints without rewriting the entire scene.
The Practical AI Image to Video Generator Workflow
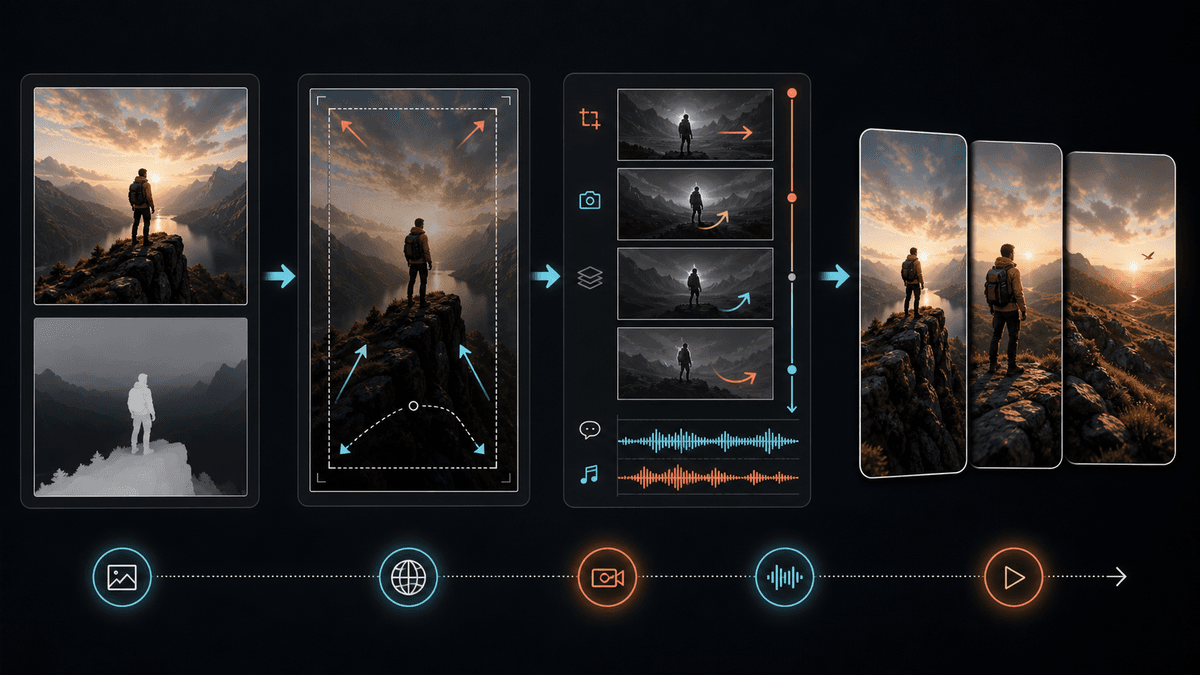
Use this workflow when you want one photo, AI image, product shot, or concept frame to become a short-form video scene.
Step 1: Decide the job of the clip
Do not animate an image just because it can move. Give the clip one job:
| Clip job | Good use |
|---|---|
| Hook visual | Open a Short with a striking motion moment |
| Product detail | Show texture, lighting, or use case without filming |
| Story scene | Turn an illustration or concept still into a narrative beat |
| Transition | Move from one idea to the next with a short visual bridge |
| Loop | Create a background that can hold captions or narration |
| Series style | Keep a repeatable visual look for a faceless channel |
If the clip does not have a job, it becomes filler. Filler makes AI videos feel generic.
Step 2: Build a motion brief
Write a three-part brief before generation:
Source image: A vertical product photo of a black travel mug on a wood desk near a window.
Motion: Slow dolly-in with steam rising and soft morning light moving across the desk.
Constraints: Keep the mug shape stable. No extra logos. No hands. No text.
Use simple verbs: push, pull, pan, tilt, orbit, drift, rise, fall, shimmer, blink, sway, rotate, reveal, settle. Do not ask for five major actions in a five-second clip. If the camera moves, the subject moves, and the background changes all at once, the model has more chances to distort the image.
Step 3: Generate a short clip first
Short image-to-video generations are useful because they show whether the model understands the source image. In SwipeStory's current image-to-video schema, generated clips are five seconds, with support for a first frame, a last frame, or both, plus an optional motion description. That makes it useful for testing motion before building a longer edit.
Use one of these test prompts:
Subtle handheld camera push-in. Keep the subject stable. Gentle background motion only.
Slow left-to-right camera pan. The subject remains centered. Soft light changes naturally.
Create a calm loop with tiny environmental movement. No new objects. No face distortion.
Once a test works, you can create the full short around it.
Step 4: Add the short-form layer
A generated clip is not a finished video. For TikTok, YouTube Shorts, and Instagram Reels, add:
- A hook line in the first two seconds.
- Voiceover or on-screen captions that explain the point.
- A safe caption layout that does not cover the subject.
- Music or ambient sound that fits the pacing.
- A clear ending, loop, question, or next-video cue.
- Platform-specific export checks.
This is where SwipeStory fits the workflow. SwipeStory turns prompts or scripts into vertical videos with AI-generated visuals, voiceovers, captions, background music, editing, rendering, and scheduled publishing for TikTok, YouTube Shorts, and Instagram Reels. If your content starts from still images, use the image-to-video clip as the scene engine, then let SwipeStory carry the rest of the short-form production stack.
For adjacent input work, pair this post with our AI video prompts for Shorts guide and the text to short video guide.
Current Product Settings to Know
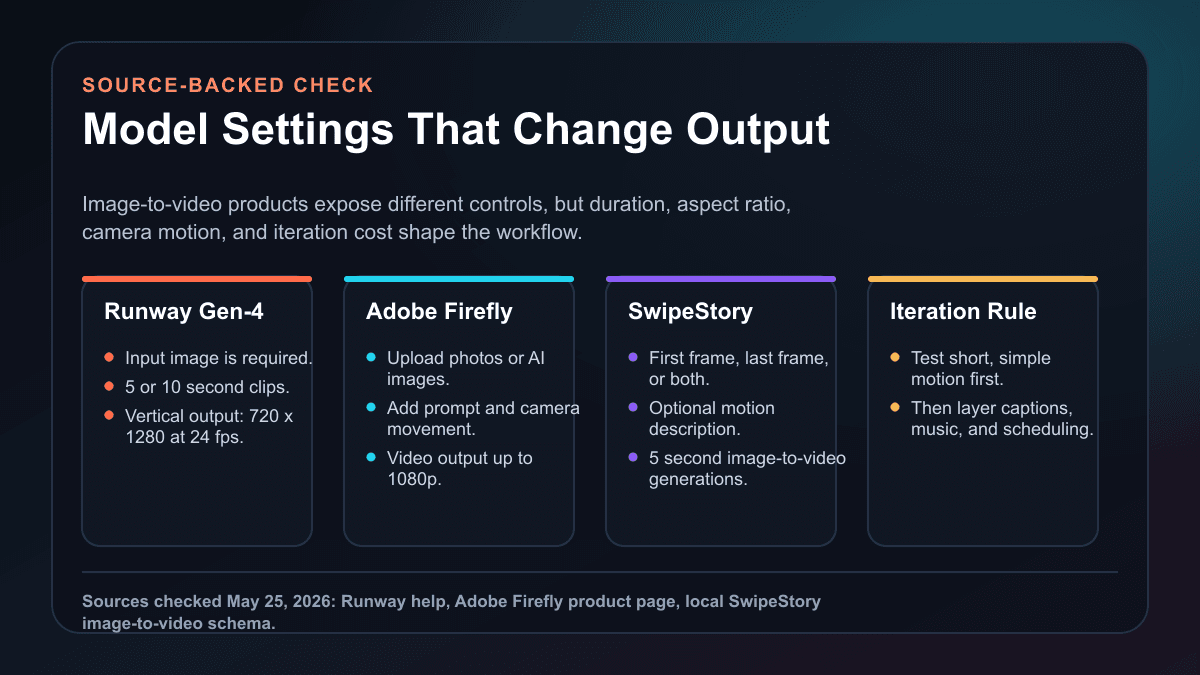
Product details change quickly, so check the current tool before you plan a high-volume workflow. As of the May 25, 2026 source check:
- Runway's Gen-4 Video help page says Gen-4 creates videos in 5 or 10 second durations from an input image and text prompt, and that Gen-4 requires an input image. It lists vertical output at 720 x 1280 and 24fps for that model family.
- Adobe Firefly Image to Video says you can upload photos or AI-generated images, add prompts, apply camera movement, and create video up to 1080p.
- OpenAI's Sora help page says Sora can upload a still image as inspiration, with restrictions around depictions of real people on that app surface. OpenAI's broader Sora safety pages also emphasize consent and rights around likeness.
- SwipeStory's local image-to-video schema currently describes first-frame and last-frame support, optional motion descriptions, five-second generated videos, PNG/JPEG/JPG/WebP image support under 10MB, and 15 credits per generated video.
The takeaway is not that one control set is universally best. The takeaway is that image-to-video work has three layers:
- The model layer: motion, duration, aspect ratio, seed, camera movement, or reference controls.
- The editor layer: captions, audio, pacing, timing, and scene order.
- The publishing layer: platform format, disclosure, scheduling, and iteration.
Creators usually get stuck when they expect the model layer to solve all three.
Prompt Templates for Photo to Video AI
Use these as starting points inside SwipeStory or any AI image to video generator that accepts a motion description.
Product reveal
Slow camera push toward the product. Soft light moves across the surface. Keep the product centered, sharp, and unchanged. Add only subtle background movement. No new logos, no new text, no hands.
Best for: ecommerce, app screenshots recreated as product-safe visuals, packaging concepts, digital products, course offers, and creator merch.
Faceless story scene
Gentle handheld motion through the room. The subject stays anonymous and partially off-camera. Curtains move slightly in the background. Build quiet suspense without adding new people or readable documents.
Best for: story videos, mystery channels, Reddit-style narration, horror prompts, founder stories, and educational narrative hooks.
Travel or location image
Slow cinematic pan from left to right. Clouds drift naturally. Foreground leaves move slightly in the wind. Keep buildings, signs, and horizon lines stable. No new objects.
Best for: travel explainers, local business videos, real estate clips, destination pages, and ambient Shorts.
Character or illustration
Subtle breathing motion and small hair movement. Camera slowly pushes in. Preserve the character design, outfit, colors, and face structure. Avoid extra limbs, text, and new background objects.
Best for: anime Shorts, Pixar-style concepts, story channels, educational mascots, and recurring faceless characters.
For style-specific workflows, use the AI anime video generator or AI Pixar video generator. For a broader production flow, start with the AI short video maker.
Export for TikTok, Shorts, and Reels
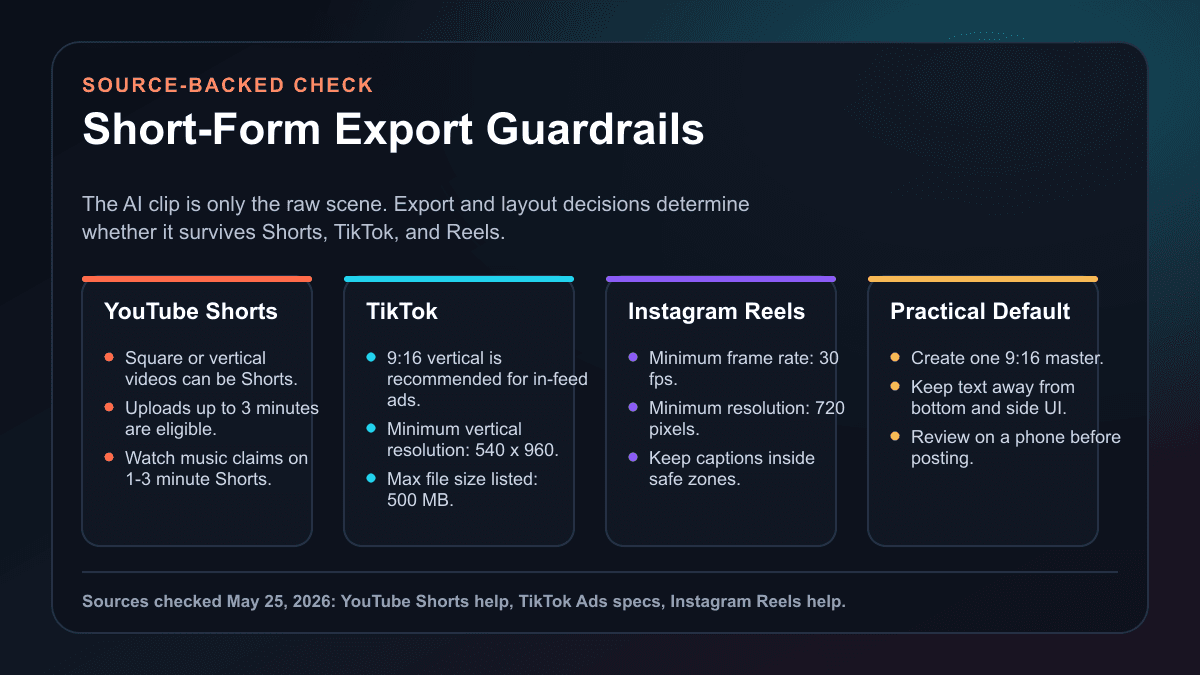
Use a 9:16 master unless you have a specific reason not to. YouTube, TikTok, and Instagram can each accept multiple formats, but a vertical master is the simplest path for short-form distribution.
Current platform notes:
- YouTube's Shorts music eligibility help says new vertical videos that are 1-3 minutes in length are categorized as Shorts, with special music claim considerations for 1-3 minute Shorts.
- TikTok's in-feed ad specifications list vertical 9:16 as recommended for in-feed auction ads, with at least 540 x 960 pixels for vertical video and a maximum file size of 500MB. Organic requirements are not identical to ad specs, but the numbers are useful production guardrails.
- Instagram's Reels help page says Reels should have a minimum frame rate of 30fps and minimum resolution of 720 pixels.
Practical default:
| Setting | Recommended starting point |
|---|---|
| Canvas | 9:16 vertical |
| Working resolution | 1080 x 1920 when your toolchain supports it |
| Caption area | Center-lower, but above platform controls |
| Clip duration | 5 seconds for image-to-video source clips; 20-60 seconds for most finished Shorts |
| Music | Use music you can legally publish on every target platform |
| Review | Watch on a phone before scheduling |
If the image-to-video model outputs a 5-second clip, repeat, cut, or combine clips intentionally. Do not stretch weak motion just to make the video longer.
Rights, Disclosure, and Review Before Posting
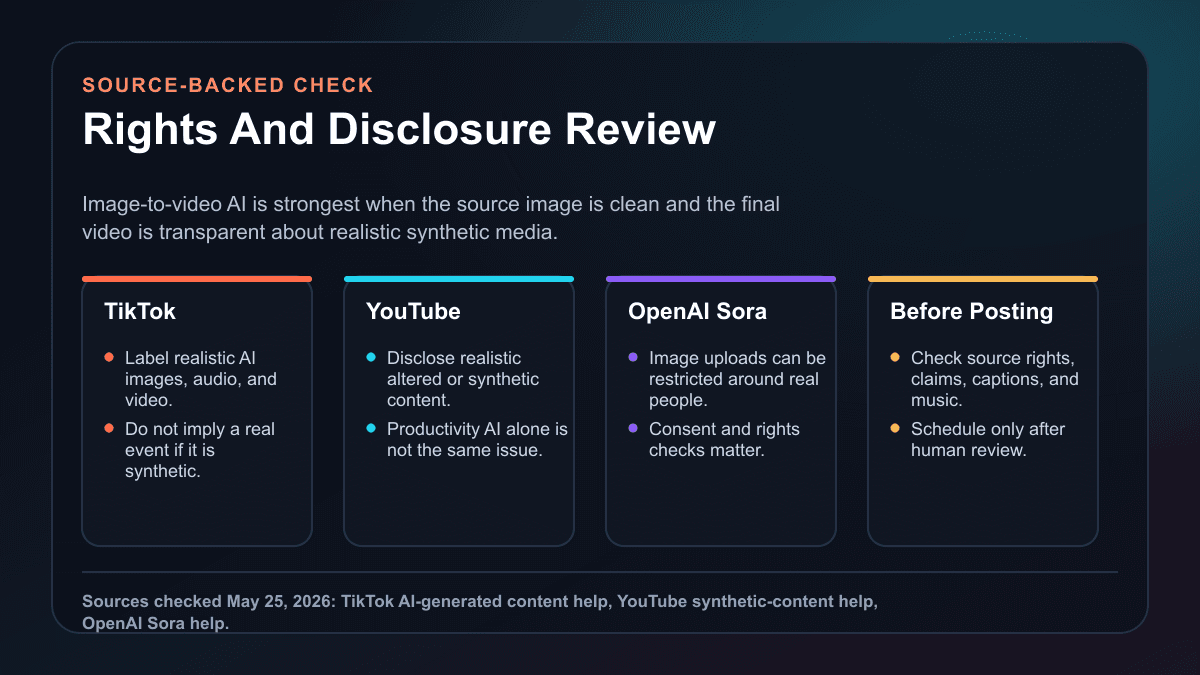
Image-to-video AI raises more trust questions than a clearly illustrated graphic because it can look like footage. Review these before publishing:
- Do you have rights to the source image?
- Does the source image show a real person, private location, client asset, trademark, or copyrighted artwork?
- Does the generated motion imply a real event happened?
- Would a viewer mistake the clip for documentary footage?
- Does the platform require an AI or altered-content disclosure?
- Does the music have cross-platform rights?
- Are captions clear and not misleading?
TikTok's AI-generated content guidance says creators must label AI-generated content that contains realistic images, audio, and video. YouTube's altered or synthetic content help says creators need to disclose altered or synthetic content when it appears realistic or meaningful.
That does not mean every stylized AI animation needs the same treatment. It does mean realistic photo-to-video content deserves a final human review before publishing or scheduling.
Common Image to Video AI Mistakes
Mistake 1: Asking for too much motion
If a five-second clip includes camera movement, character movement, object transformation, new background action, and a scene reveal, something usually breaks. Start with one primary motion and one secondary environmental motion.
Mistake 2: Uploading a bad source image
Do not spend credits trying to fix a blurry, cluttered, or malformed still. Generate or edit a better source image first, then animate it.
Mistake 3: Treating every clip as standalone content
Image-to-video outputs are usually scenes, not complete posts. The final video still needs a hook, context, caption rhythm, audio, and a reason to keep watching.
Mistake 4: Ignoring safe zones
If the generated motion places the important action behind captions or platform UI, the clip may look fine in the editor and fail on mobile. Keep the subject centered enough for TikTok, Shorts, and Reels.
Mistake 5: Skipping the rights check
The model does not know whether you have permission to animate a photo. You have to decide that before uploading.
When SwipeStory Is the Better Workflow
Use a standalone AI image-to-video generator when you only need one motion test or one b-roll shot. Use SwipeStory when you want the still image to become part of a finished short-form video system.
SwipeStory is especially useful when you need:
- A faceless video from a photo, image, or visual concept.
- A script, voiceover, captions, music, and edit around the generated clip.
- Scheduled publishing for TikTok, YouTube Shorts, and Instagram Reels.
- A repeatable series style instead of one-off experiments.
- Prompt-to-video and script-to-video workflows in the same product.
As of this repo check on May 25, 2026, SwipeStory's public pricing constants list annual pricing at Hobby for $16/month with 120 credits, Creator for $31/month with 300 credits, Influencer for $55/month with 600 credits, and Studio for $174/month with 2,000 credits. Paid plans list custom AI voiceovers, background music, auto-captions, all art styles, no watermark, automated posting, and generation features across relevant tiers. Check pricing before planning a high-volume image-to-video series because credit use depends on the videos you generate.
Frequently Asked Questions
What is image to video AI?
Image to video AI turns a still image into a short video clip by predicting motion, camera movement, and scene changes from the source image plus a text prompt. The best results come from clean source images and simple motion instructions.
Is an AI image to video generator enough for TikTok or YouTube Shorts?
Usually not by itself. It can create a moving scene, but a finished short still needs a hook, voiceover or captions, music, pacing, export checks, and a publishing workflow.
What kind of photos work best for photo to video AI?
Use high-quality images with one clear subject, stable composition, good lighting, and enough space around the subject. Avoid small text, crowded scenes, watermarks, and images you do not have rights to use.
Should I label image-to-video AI content?
Check the platform rules and the realism of the output. TikTok requires labels for realistic AI-generated images, audio, and video. YouTube requires disclosure for realistic or meaningful altered or synthetic content. Stylized or clearly fictional visuals may be treated differently, but realistic scenes deserve extra review.
Can SwipeStory make videos from images?
Yes. SwipeStory includes an AI image-to-video tool that supports first-frame and last-frame inputs, optional motion descriptions, and short generated clips. You can then build those clips into broader TikTok, Shorts, and Reels workflows with scripts, captions, voiceover, music, and scheduling.
Sources
- Runway Gen-4 Video documentation
- Runway Gen-4 Video Prompting Guide
- Adobe Firefly Image to Video
- OpenAI Sora video help
- TikTok AI-generated content guidance
- TikTok in-feed ad specifications
- YouTube altered or synthetic content help
- YouTube Shorts music eligibility help
- Instagram Reels size and aspect ratio help
